A begginners guide to improving your track's sound quality
For many years I have struggled with getting good, powerful sound quality in my productions but I have learned many techniques which have helped me improve my production process. Sound quality comes from experience, so I'd like to share some important things to help out any producers who want to take their tracks to the next level. If you are releasing top sellers, then I guess this article is not for you.
1. Creating & tuning the kick

Some producers sample kicks from other tracks to save them time. I prefer to process my kicks (until I can't get my desired result, then I resort to finding a good quality sample). The problem with using a sample is that it may be tuned in a different key to your bassline, which can cause muddiness in the production. When the kick is tuned to the bassline they are guaranteed to work well together. There are a few tools on the market which do the job, I'm a fan of the Sonic Academy Kick 2 Plugin. It's very useful for changing the pitch of the kick and adding a hihat or click for that high frequency presence. I would recommend this plugin for kick tuning.
Once your kick is ready and sounding powerful, make sure it's in audio (wav/aiff) format, (not MIDI), and set the channel level to -12dB, so that you have enough headroom for the rest of the sounds in your track.
2. Mixing the Kick and Bass together
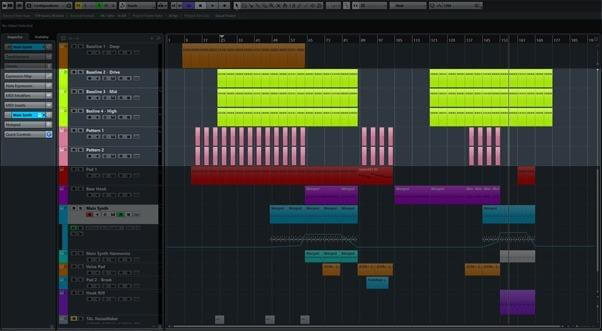
Start a mix with the kick and bass sounding powerful right from the beginning of the production. It's easy to assume the kick and bass sound good, but maybe it's sounding flat and muddy. A great way to confirm the kick and bass are sounding as good as they can, is to compare them with one of your favourite tracks that have been released on a good label. If they sound similar in volume and tightness, then you're ready to move on. Just remember to lower the volume of the comparison track in your project as it has already been mastered.
3. Layering sounds
Electronic music is based on layering sounds, but this must not be over done as it can easily lead to a messy mix, but if done right it can really make your sounds sound powerful. Try layer about 2 - 4 sounds, group them to a group channel and add processing to that channel. You may have EQ the individual channels if their frequencies are clashing - which is highly likely. Try not to over do this as It's really important to keep your track sounding as clean as possible.
4. Reverb
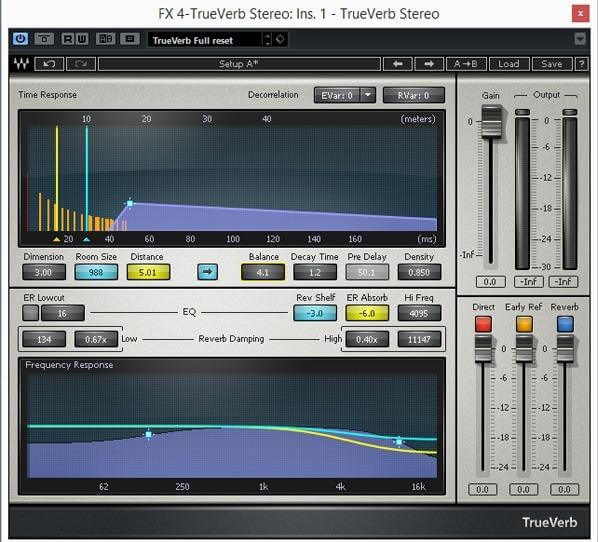
Adding reverb is one of the most difficult aspects of the production process and can cause the production to sound drowned and distant. The best advise I can give here is to EQ the reverb and remove all frequencies below 1000 Hz, this will help keep the low end clean. Using reverb as a send effect is more manageable compared to adding it as an insert effect. Try adding 4 reverb sends (ensure the mix parameter is set to 100%), each a different size so they occupy the different spaces in the production. When you are setting the reverb units, pay attention to the effect that is created and listen to it carefully. This will help guide you in applying the different reverb's to the samples. If you are adding reverb as an insert effect (directly on the channel), then use the mix parameter to mix in the effect.
Generally, reverb should be the last effect in the chain, but it's good to experiment. For example, you may want to add reverb and compression to a vocal. Generally, I would compress the vocal first, then add EQ and add reverb afterwards, but maybe in compressing the equalized vocal and reverb together could sound better. Use your ears and don't be afraid to experiment.
5. MIDI to Audio
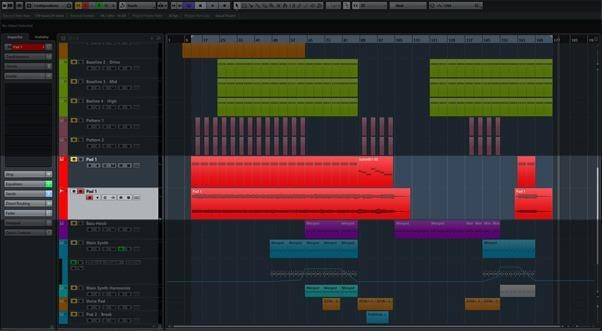
I firmly believe that every channel in a project should be in audio (wav / aiff) format, never leave any MIDI channels in your final mixdown. MIDI is not a good audio quality because it's not real audio. Audio channels have more flexibility when it comes to processing. Most VST effect plugins are going to sound better than the effects offered in the instrument (although in some VST instruments some of the effects do sound great). Do as much as you can with the instrument, then bounce it to Audio and add processing to the audio channel. This also helps minimize CPU usage. Furthermore, Audio channels display the audio waveform. This is a huge advantage because it helps identify problems, and helps make judgement calls on how much compression the sound needs. Finally, it's a good idea to switch off any added reverb and delay on the VST instrument so you bounce a dry sound, then add them via a send effect or insert effect if you prefer.
6. Mixing
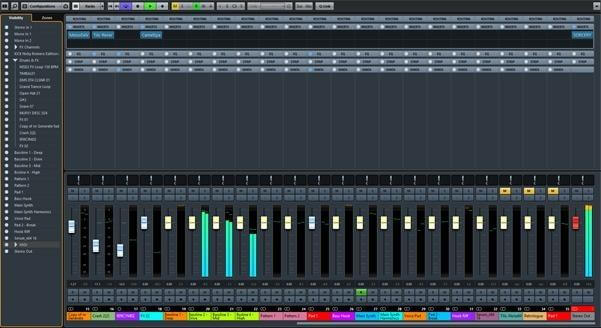
I really believe that it's the producers job to do his own mix, and I also believe that the mix is the most important part of the production, which will either make or break the track. At least if the track is successful, you'll feel a lot more pleased with yourself if you've mixed it yourself, and besides all that, it keeps the fun and momentum going. Making a dance track is not just about the melodies, patterns and arrangements, it's about the engineering as well. As this is the most difficult part of the production process, be patient and take your time with this. Mix different versions of the same track. You will get better and better with experience.
Once your kick and bass are mixed well together and sounding great, the next sound to mix in is the snare or clap. Make sure it's not too loud so you can hear the kick and the snare together at the same level. Take out the low frequencies in the snare so that it doesn't clash with the kick. Then mix the hihats & cymbals, take out their low frequencies because they don't have any, so it helps create space in the mix. Try not to leave the hihats to loud as it can easily be done and really makes the mix sound terrible. Human ears are most sensitive to high frequencies so pay attention to those. After your drums are mixed, bring in all the other sounds, 1 by 1. Mix the most important sounds first, then leave the effects till last.
7. Grouping
I like to create group & folder tracks for the individual sections of the project. For example, I have a group and folder for Kick and bass, one for drums, another for pads, then effects, leads, vocals etc. This makes it easier to mix and process the group channels together. Once you have group tracks and each channel inside the group is at the right level, then when you need to adjust levels of your drums or leads as a whole you can use 1 channel to adjust all their levels.
8. EQ & Compression
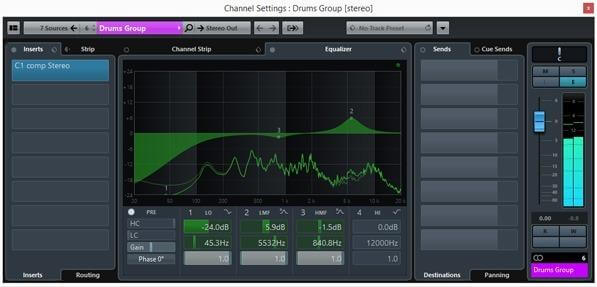
Both EQ & compression are really important processing tools which help the production sound clean and punchy. Too much EQ boost can easily be overdone, as naturally the human ear responds to the change in volume, and tricks us in thinking it sounds better, but it's really just adding more frequencies to the mix. Boost is good when it's needed. Removing frequencies on the other hand, especially low frequencies, helps clean out the mix so the other sounds can stand out more.
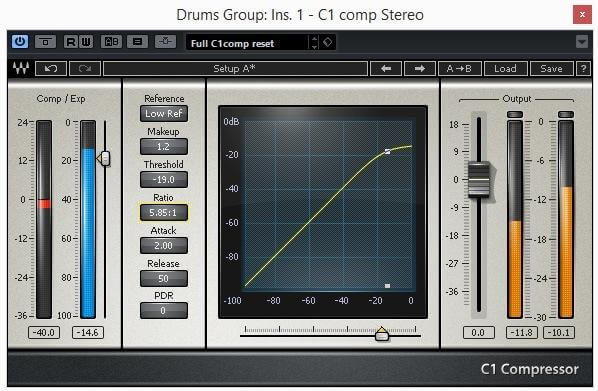
Compression should also be done in moderation and only when needed. Too much compression on all the channels will result in low RMS levels, which basically makes the production sound low in volume. Find the balance needed for the compression to make the production sound tight and solid. Use a meter which displays the RMS level and keep it at -12dB (this should be in the green).
9. Spectrum Analyzer
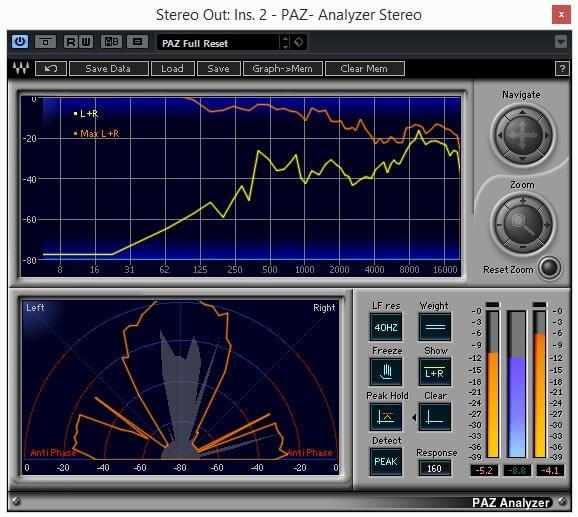
Using a Spectrum analyzer on the master channel is highly advised so you can monitor the levels of the frequencies in your mix and get an idea which area's need work if any. There are some freeware analyzer plugins out there so grab one if you don't have one already. The idea is to have a mix as balanced as possible, but ideally no major peaks or dips, so lookout for that. I use the waves PAZ Analyzer. Always add your analyzer last in the chain so you can monitor with and without the master compressors and EQ. Using a spectrum analyzer will also help you monitor your peak level - which should never go over -6dB as wel as the RMS level which should sit at around -8dB to -12dB.
10. Mastering
In every one of my projects, I always add mastering compressors and EQ's to the master channel, mainly so I can get an idea of how my project will sound when it's mastered. I personally, like to prepare a mixdown to send to a professional mastering engineer, and let the mastering engineer deal with the in-depth mastering techniques. This is good for a number of reasons, including the fact that the engineers will be very judgemental on the projects they master, and will probably point out problems area's in the mix. Either they will be able to fix them, or they will advise you how to fix it in the mix.
To prepare your mix for the engineer, ensure the mix has enough headroom for the engineer to work his (or her) magic. A good mix's loudest peak should not go over -4dB. Even better if the highest peak is at -6dB. Don't send the engineer a track that has been limited, they need a good dynamic range to work with. Before you send your mix in for mastering, there is 1 important thing to note: mastering does not work transform an average sounding mix to a professional sounding track. Yeah it does make it sound a lot better, but the magic happens in the mix, and the mastering is the cherry on top. I would also advise against stem mastering as I am not a fan of that. I believe that the producer's job is to do the mix and the mastering engineers job to polish it with the mastering process. The other reasons why I avoid using my own masters, is my studio is not set up with the right acoustics for mastering, and my production monitors are not good for mastering either. If you a good studio set up and the right mastering skills and experience then go ahead and master your own tracks.
In my master channel I like to include a multi-band compressor which helps make the track sound phat. There is a nice freeware plugin called 5orcery which does a great job at compressing different frequency bands.
11. Hardware & Acoustics
Using a good soundcard / audio interface will help you achieve high quality sound in your mix, and having a decent pair of near-field monitors is essential, as well as a good pair of headphones for monitoring. Room acoustics and foam absorption panels will make a huge difference to your sound. I hear good things about the KRK ERGO for room acoustic monitoring but yet to try it out. That will process the audio based you the room's dimensions.
12. Look out for DC Offset
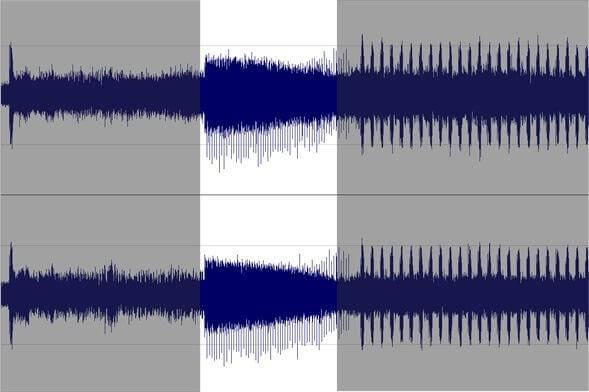
DC Offset is an offsetting of a signal from zero. This basically means that the waveform does not look like it's perfectly centred on the 0.0 horizontal line. DC offset is usually caused by putting too much effect on sounds, especially bass, it sounds bad and it can cause damage to speakers. Most audio processing software applications have a "Remove DC offset" function, which is fine to use, but aim to not have any in the mix.
13. Clicks and Pops
Click's and pop's are easily caused by cutting up waveforms, so best to avoid these by zooming up close to the wav when you are splitting up samples. These clicks usually occur in the beginning or end of the sample, so usually a fade in/out will take care of the problem, but again, it's better to aim to not have any clicks/pops at all. Sometimes the clicks are soft and can be difficult to hear them, so best to solo each channel and play it for a while, to ensure there are none and the samples are super clean.
Conclusion
I hope this article will help you in some way with your future mixes. Obviously there a lot more information you can find online, so the more research you do the better.

